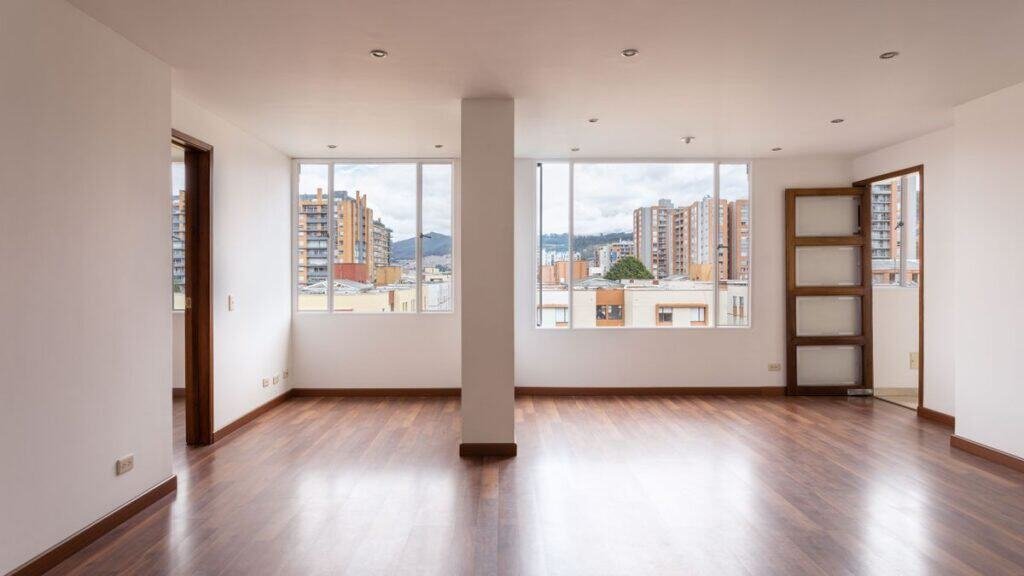
A first apartment is not one decision. It is a chain of them — what you can afford, what you agree to, what you document, what you buy, and what you do on the way out — and some of them are much harder to undo than others.
See what to check at an apartment viewing for what to look for — and what should make you walk away — before you apply.
This first apartment guide walks the chain in the order you live it, from the listing you have not applied to yet to the day you hand back the keys. Each step gives you the short version and the reasoning; where a step has a full article behind it, the link is in the text.
One thing to know before we start: this is not a shopping list — it spends as much time talking you out of purchases as into them.
Before you apply: find the real number
The rent on the listing is not the price of moving in. The price of moving in starts with the first month’s rent, plus the security deposit, plus whatever fees the building charges, plus the cost of physically getting yourself and your things through the door — and the first three are due before you have the keys.
So before you fall for one specific apartment, work out the whole number for the kind of apartment you are looking at. Our first apartment move-in cost guide breaks that number into its three buckets and walks through a worked example so you can see the math — including the “3x rent” income question and the buffer you should still have left the day after you pay everything.
And if the number comes up short, the same guide covers what not to do about it. The gap between almost-enough and enough has expensive bridges and cheaper ones, and the article names both.
The mistake to head off at this stage: renting at the very top of what you qualify for. Qualifying is not affording. Passing a screening does not mean you can pay the rent and also eat, save, and absorb one bad week. Leave yourself the gap.
Applying: read your own file before anyone else does
Applying means agreeing to be screened. A tenant screening report is not your credit report — it can pull in rental history, eviction filings, and criminal records, assembled by companies whose names you may never have seen — and an apartment can be lost to a line in it that is simply wrong.
You do not have to meet that file cold. You cannot know in advance exactly which report a given landlord pulls, but you can request your own file from the screening companies before you apply and dispute what is wrong before it costs you a lease. Tenant screening reports and your rights explains what can be in the file, how long items can stay on it, and what to do if you are turned down — including the 60-day window to request your free copy of the report that was used.
If that file comes back thin or blank rather than wrong — no score at all, not a bad one — that is a different situation with its own fixes. Our guide to renting with thin credit or no rental history covers what to offer instead of a credit check.
Keys day: document everything before you unpack
No hour in this apartment earns more than the one before your boxes come through the door. The unit is empty, every mark on it is visible, and nothing in it is yours yet. Photograph it. Put what you find in writing, with a date. The scuffed paint and the drawer that does not close should be on record as pre-existing — because the question of what damage was already there gets asked when you leave, and the better record makes the stronger case.
Share what you documented with the landlord the same day. A record that lives only on your phone is a private diary; one that was shared and dated on day one is a much better starting position at move-out.
Our move-in inspection guide covers the whole hour: what to capture, how to put it in writing, and why the record you make on day one still matters a year later.
Once the walkthrough is done, the next task is getting the lights and water turned on in your name — our utilities setup guide covers what a provider checks before approving you and what they can hold as a deposit.
Furnishing: buy for the first night, not the first year
Here is where the spending pressure starts, because this is where the checklists arrive — the ones our first apartment checklist article was written to push back on, which present a list of everything as a list of essentials. The fix is sorting by time: a short list of what the first night actually requires, a second wave across the first month once the apartment has shown you how you live in it, and a third list you never buy at all — at least not for this apartment.
The purchase to postpone in particular is large furniture. A sofa bought in week one is bought for an apartment you have not lived in yet — before you know where the light lands, what fits through the stairwell, or whether you would even renew the lease. Give the room a month. It can tell you what it needs better than any list can.
The kitchen: a few things are worth real money
The kitchen is where starter spending concentrates, and where the boxed “complete kitchen” bundles are aimed. Our position, argued piece by piece in first apartment kitchen on a budget, is that two items are worth paying properly for — one good chef’s knife and one heavy pan that can go in the oven — and the rest can be cheap, secondhand, or absent. The bundles get this backwards, spreading your money across items you did not choose instead of concentrating it in the two you put your hands on every day.
Settling in: make it yours without spending the deposit
Once you are in, two projects make a rental feel like a home: storage, because a small apartment without a system fills itself, and upgrades, because the beige walls and builder-grade fixtures came with the lease, not with you. Both can be done in ways that keep the risk to your deposit low. Renter-friendly storage that works in a small apartment covers the first; renter-friendly upgrades covers the second — including the part where the instructions and the lease both get read before anything sticks to a wall.
Moving out: the deposit was the point all along
The deposit is one of the larger sums you handed over at the start, and getting it back is partly in your hands. What helps on the last day: cleaning, returning the keys, and a forwarding address in writing. What helps most was done on the first one — the inspection record you made before unpacking.
If it does not come back on its own, there is a sequence: the landlord’s deadline, a written request that starts the paper trail, and what to do if the deadline passes or a deduction list arrives. How to get your security deposit back when a landlord keeps it walks that sequence step by step.
What we would tell you to skip
Every article above talks you out of something, so here is the collected list. Skip the boxed starter bundles — kitchen or otherwise — that spread money across things you did not choose. Skip large furniture in week one. Skip buying the full checklist before the first night. Skip matching organizers for closets you have not sorted yet. And skip anything bought for the apartment you wish you had rather than the one you signed for. None of this is austerity — it is sequencing. The money you do not spend in week one is still yours in month two, when you know what this apartment actually needs.
The whole thing, in order
- Work out the real move-in number, and rent below the top of your range.
- Request your own screening file, and dispute errors before you apply.
- On keys day, photograph and document the empty unit before one box comes in — and share the record the same day.
- Buy only what the first night requires. Let the first month write the rest of the list.
- Put real money into the few kitchen pieces that do daily work, and skip the bundles.
- Favor storage and upgrades you can remove cleanly, and read the lease before installing anything.
- On the way out: clean, document again, and put your forwarding address in writing.
- If the deposit does not come back, ask in writing and keep every reply.
That is the whole arc. Each step links to the full version when you need the detail — and if you only keep one thing from this page, make it the hour with the camera on keys day.